Creating different pricing tiers for your WooCommerce products based on the quantity purchased is a great way to incentivize customers to buy more, while also maximizing your sales. In this article, we will show you how to create these pricing conditions using the Dynamic Pricing plugin for WooCommerce.
To get started, you will need to install and activate the Dynamic Pricing plugin. Once you’ve done that, follow these steps:
- Install the WooCommerce Dynamic Pricing plugin (Free)
- Go to the WooCommerce > Dynamic Pricing page in your WordPress dashboard.
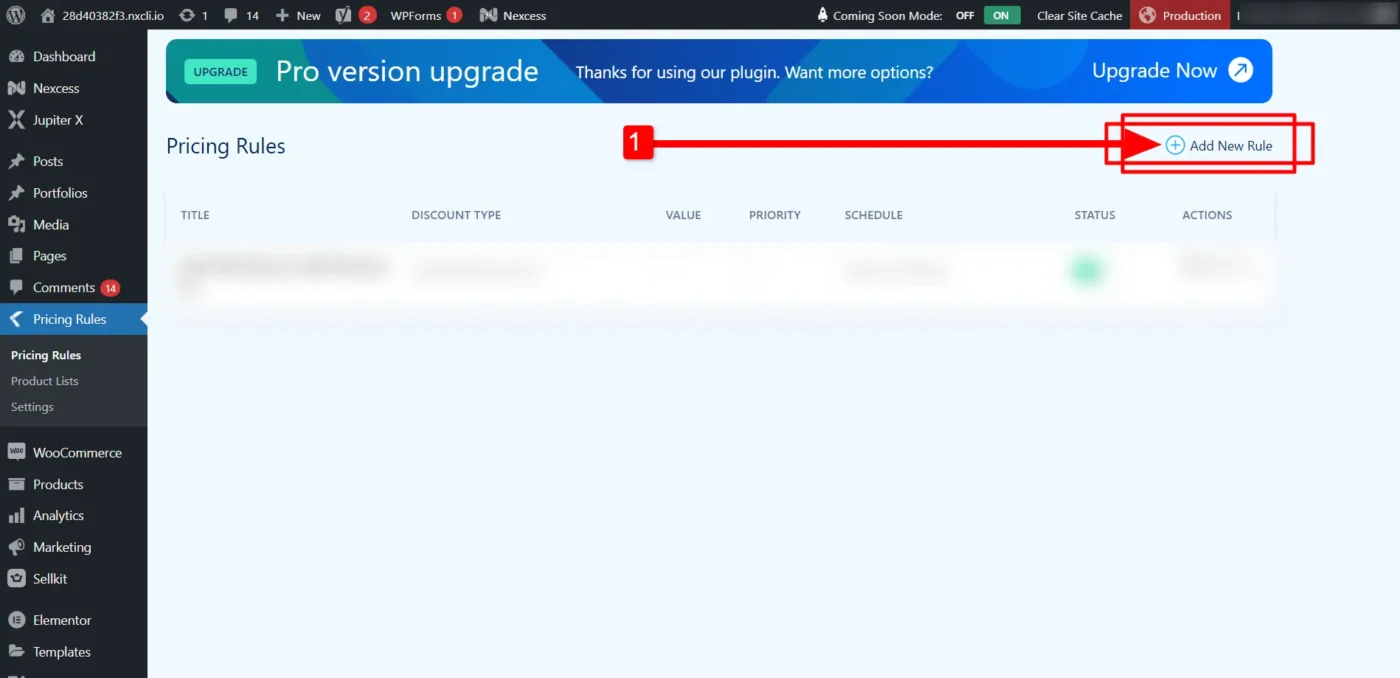
- Click the “Add Rule” button to create a new pricing rule.
- In the “General” section, select the “Product” option from the “Apply to” dropdown menu.
- In the “Conditions” section, select the “Cart Item Quantity” option from the “Type” dropdown menu.
- Enter the minimum and maximum number of products for each pricing tier in the “Min” and “Max” fields.
- In the “Actions” section, select the “Discount Amount” option from the “Type” dropdown menu.
- Enter the discount amount for each pricing tier in the “Amount” field.
Here’s how the pricing rule would look for each pricing tier based on your requirements:
- 1 Product = $40
- Min: 1
- Max: 1
- Amount: $40
- 2-4 Products = $35 each
- Min: 2
- Max: 4
- Amount: -$5
- 5+ Products = $30 each
- Min: 5
- Max: 999 (or a higher number if you sell more than 999 of the same product)
- Amount: -$10
- Save the rule and repeat the steps for each pricing tier.


Now, when customers purchase your product, the dynamic pricing rule will apply the appropriate discount based on the number of products in their cart.
By creating different pricing tiers based on the quantity purchased, you can encourage customers to buy more and increase your sales. This technique is just one of many ways to optimize your pricing strategy for maximum profitability. Try it out and see what works best for your business!


